How do I set up EngageWith?
To get started, click on Add to Teams on our Home Page.
The next step is granting permission to access resources in your organization. This access is necessary for EngageWith to integrate with your Microsoft Teams organization.
These permissions can only be granted by an Application or Global admin. To connect with your admin, we suggest getting in touch with your CIO, IT team, or human resources department.
If you are not an admin, you will not be able to set up EngageWith for your organization. The photo attached below is that of the screen you would see if you are not an admin.
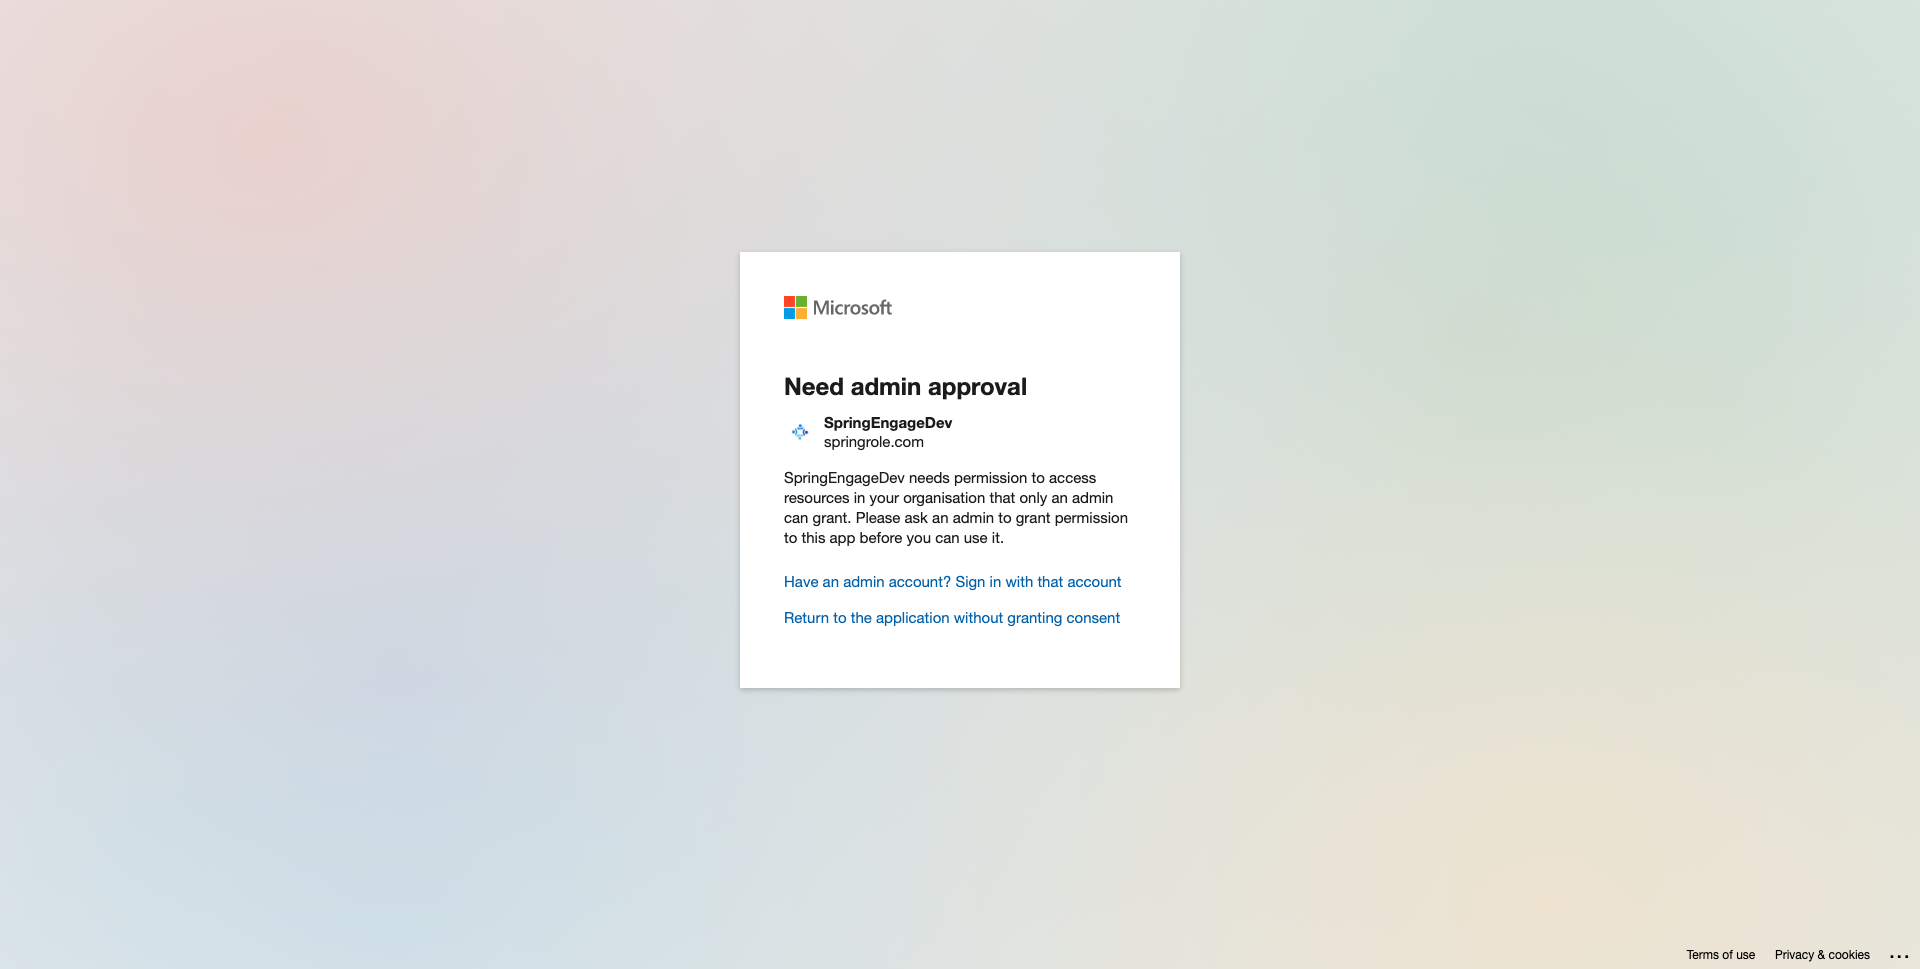
If you are an admin, proceed to the onboarding process by accepting the requested permissions.
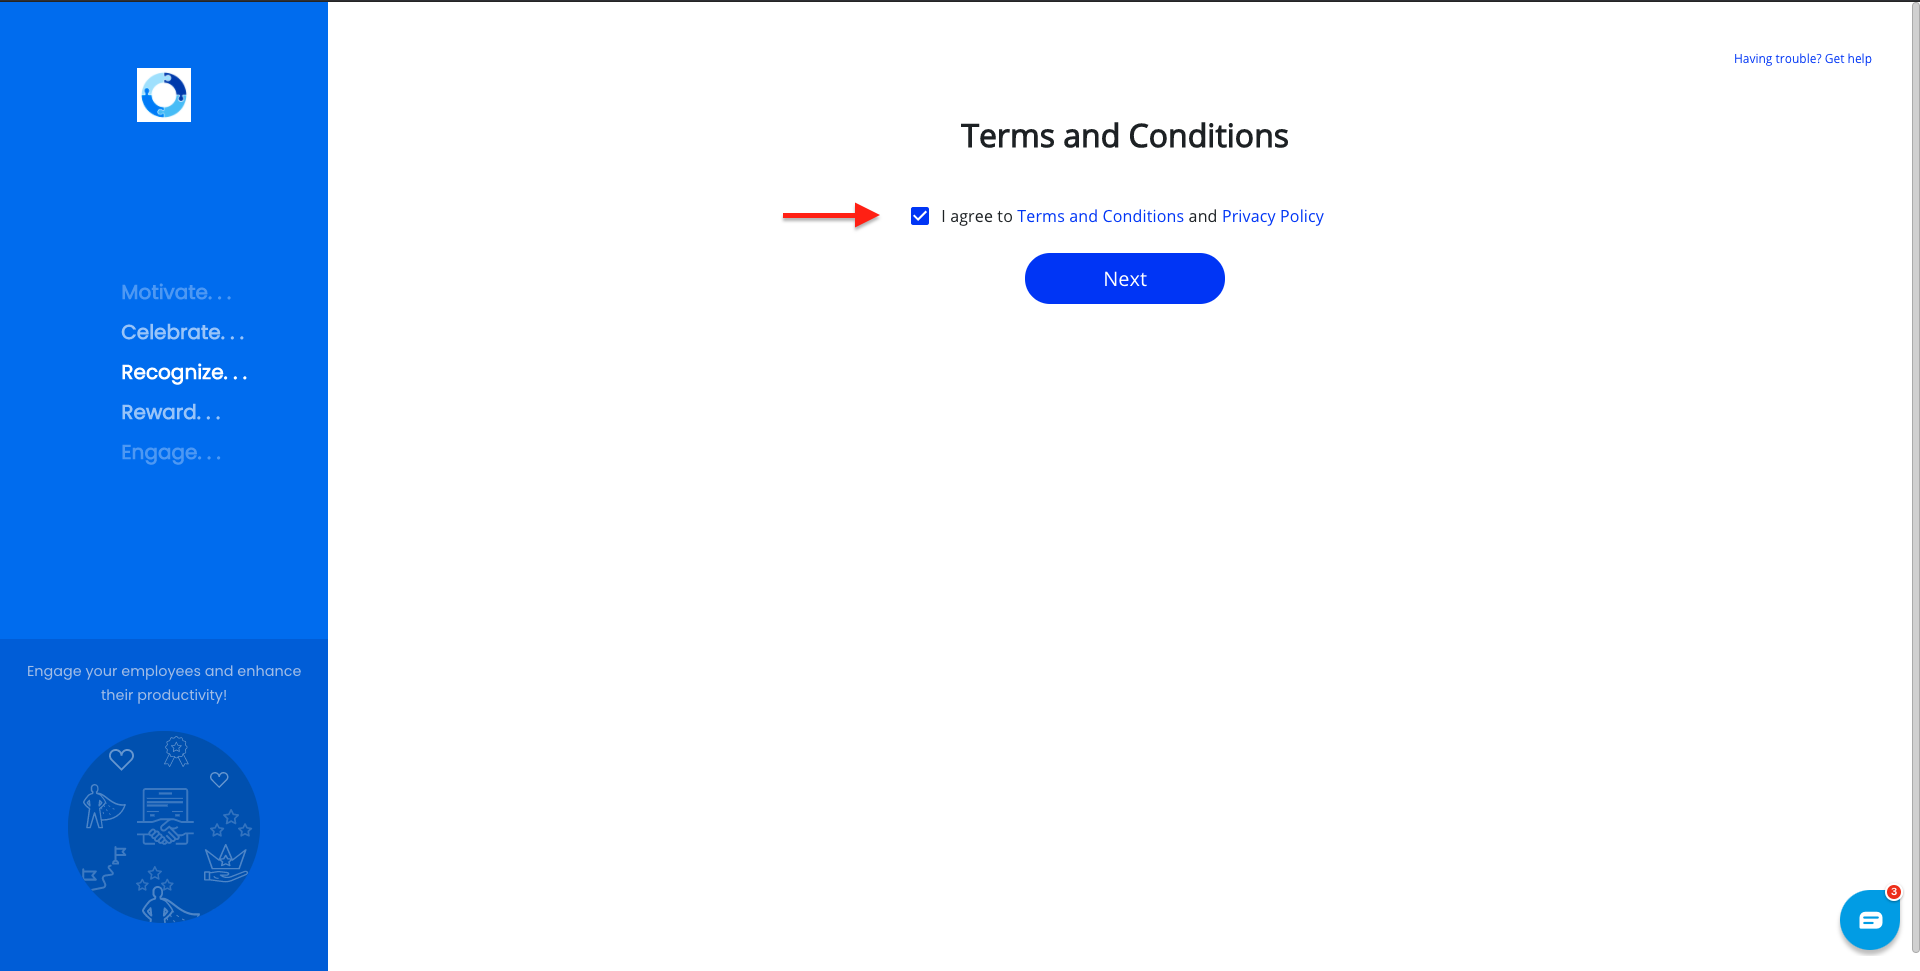
We understand a lot of sensitive data lives in your Microsoft Teams organization and we’re right here with you. Please review our Terms & Conditions, Privacy Policy, and Cookie Policy.
Note: We complete security reviews or questionnaires for annual subscriptions.
Now, start setting up EngageWith by selecting channels you’d like to integrate it with. EngageWith will notify your team in these selected channels when you appreciate someone.
Map teams with managers inside EngageWith next. This helps to allocate permissions to the right people.
For example, say, your teammate wants to publicly recognize a colleague on a particular channel. Before EngageWith sends an appreciation on a public Slack channel, you can set it up to send a message to your teammate’s manager seeking their approval. If the approval is granted, EngageWith sends the appreciation.
Mapping can be facilitated in 2 methods:
- CSV import: You will be asked in the next step to upload a CSV file to import your managers and their corresponding teams. That would require you to create a worksheet with all team members.
- Slack import and assign manually: Once you select this option, you will need to select managers and then map their teams in the next step. Once you get a hang of it you can choose to do it later as well in the settings page of the Dashboard.
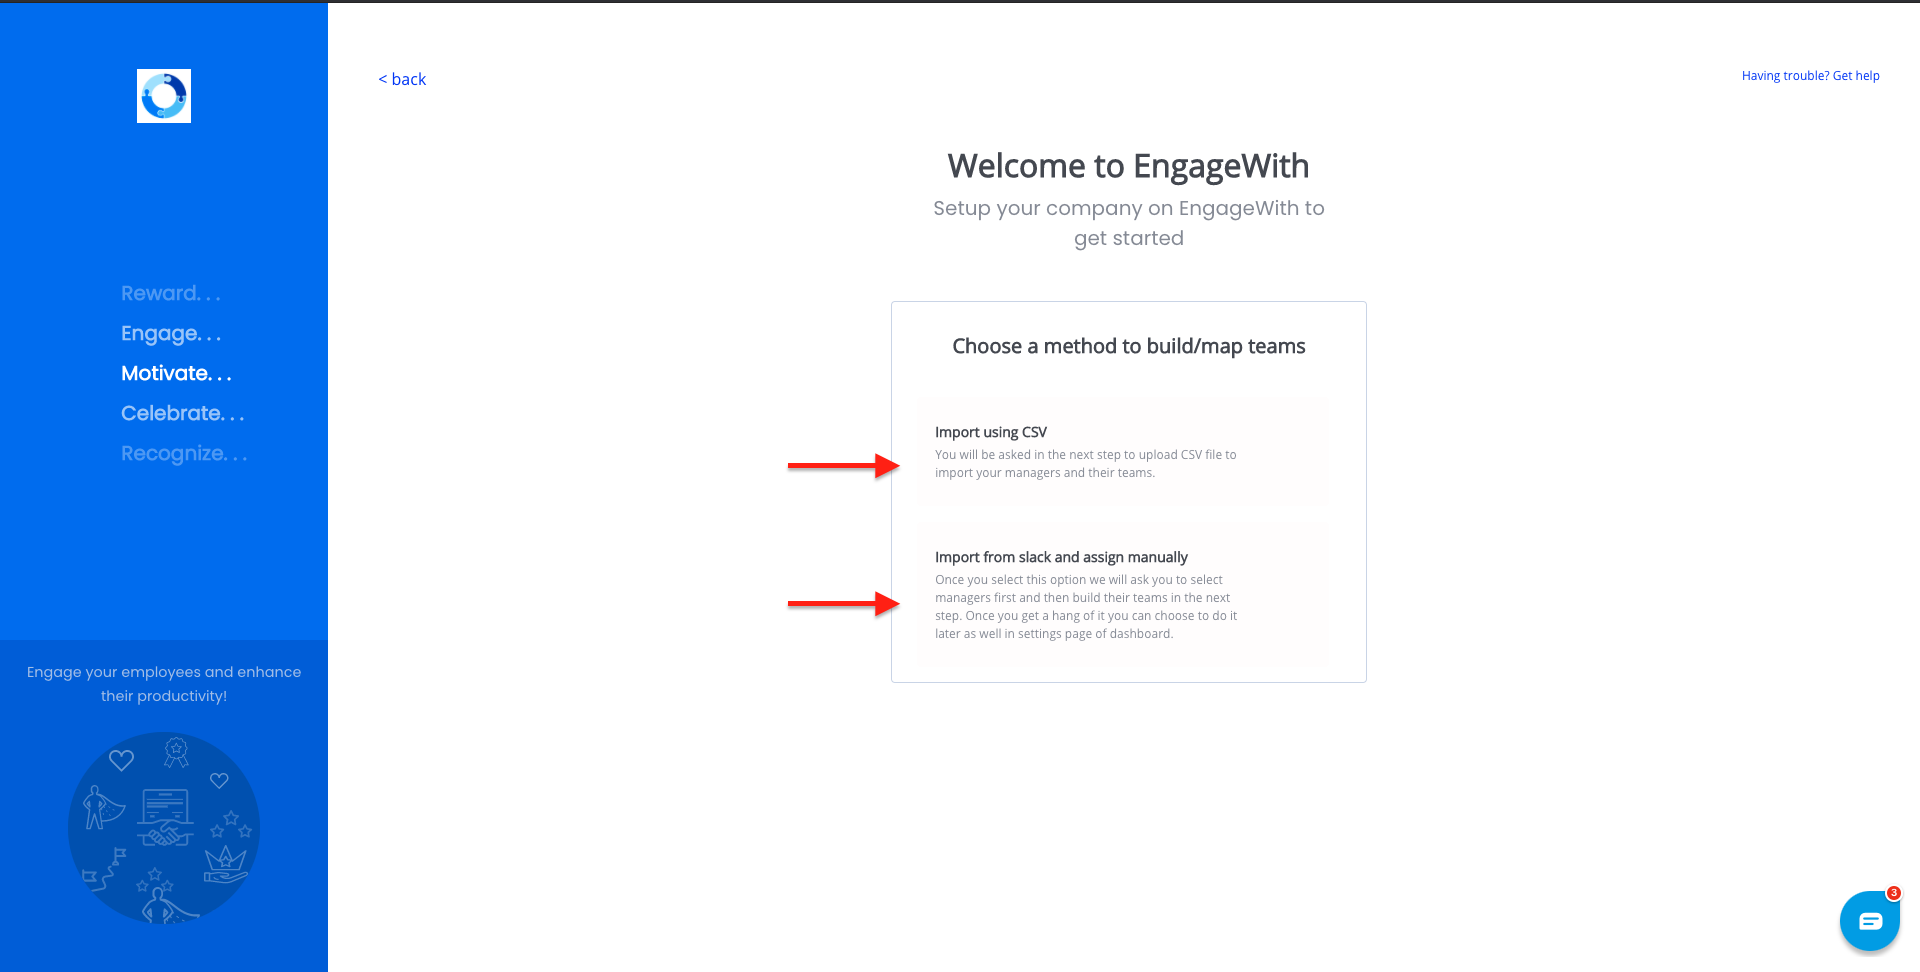
For your reference, I’m going to select Slack import and assign manually.
In the next screen, choose which members you’d like to set as active.
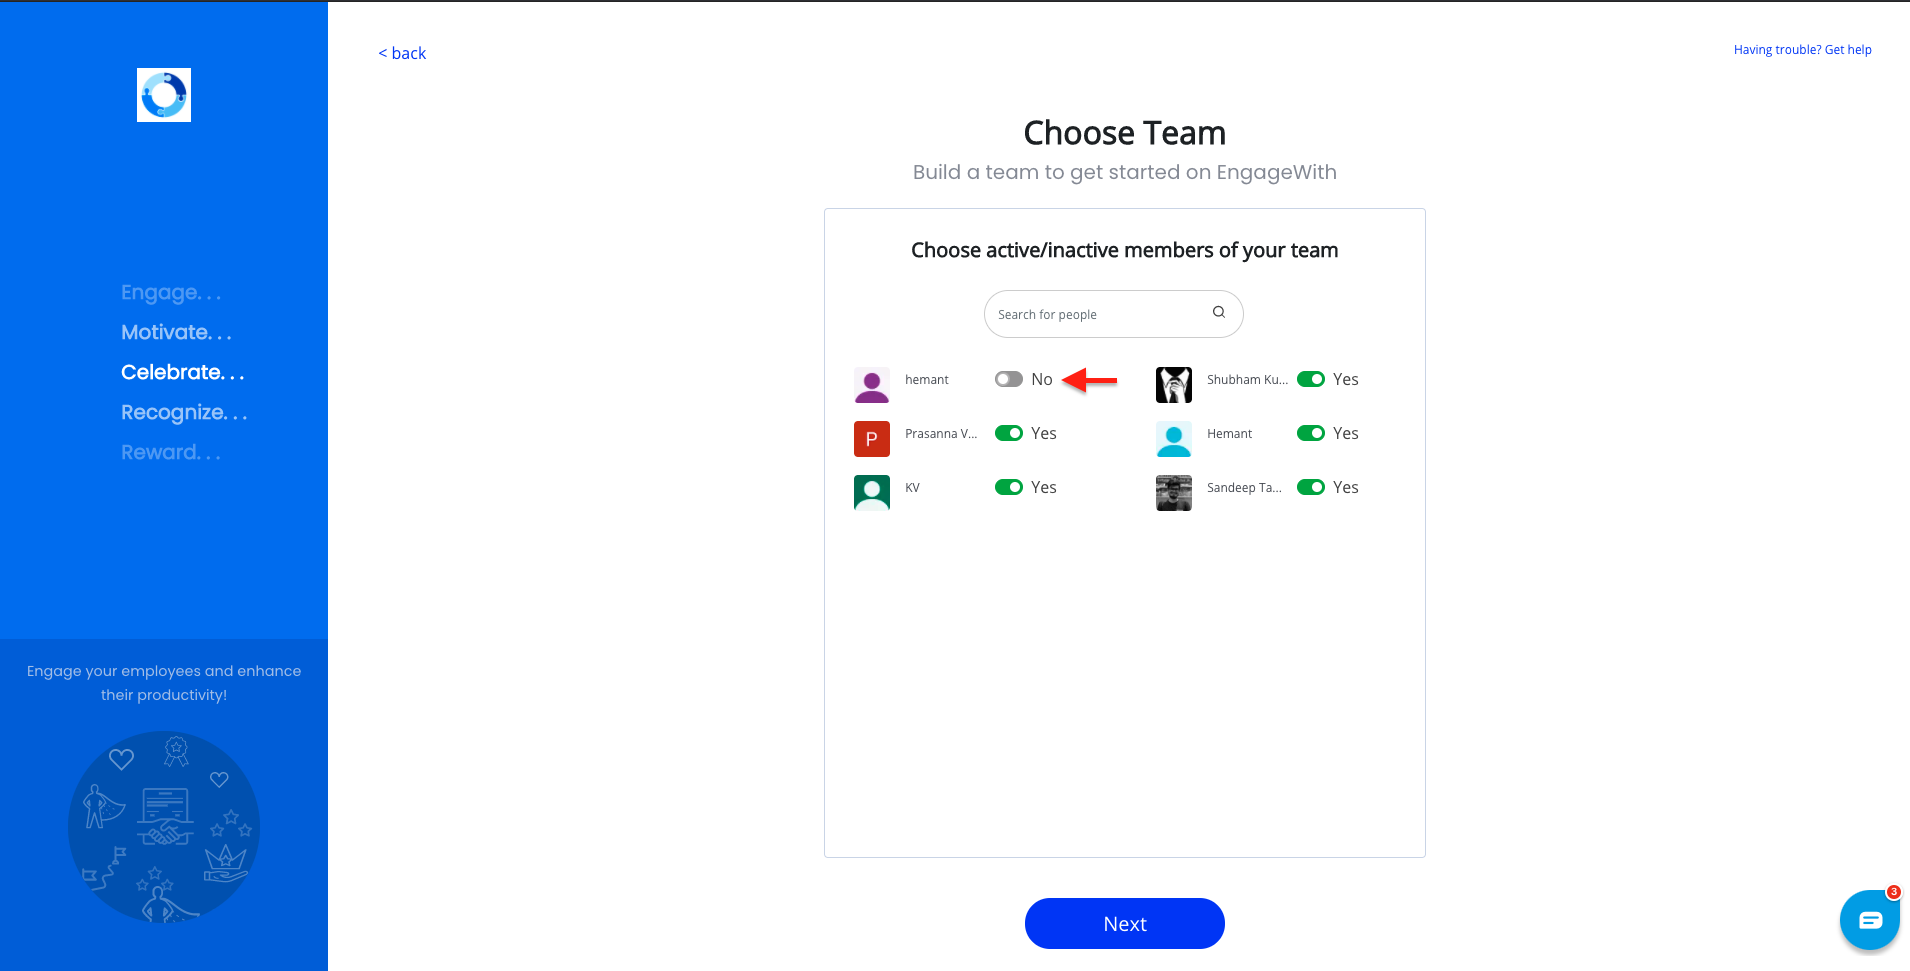
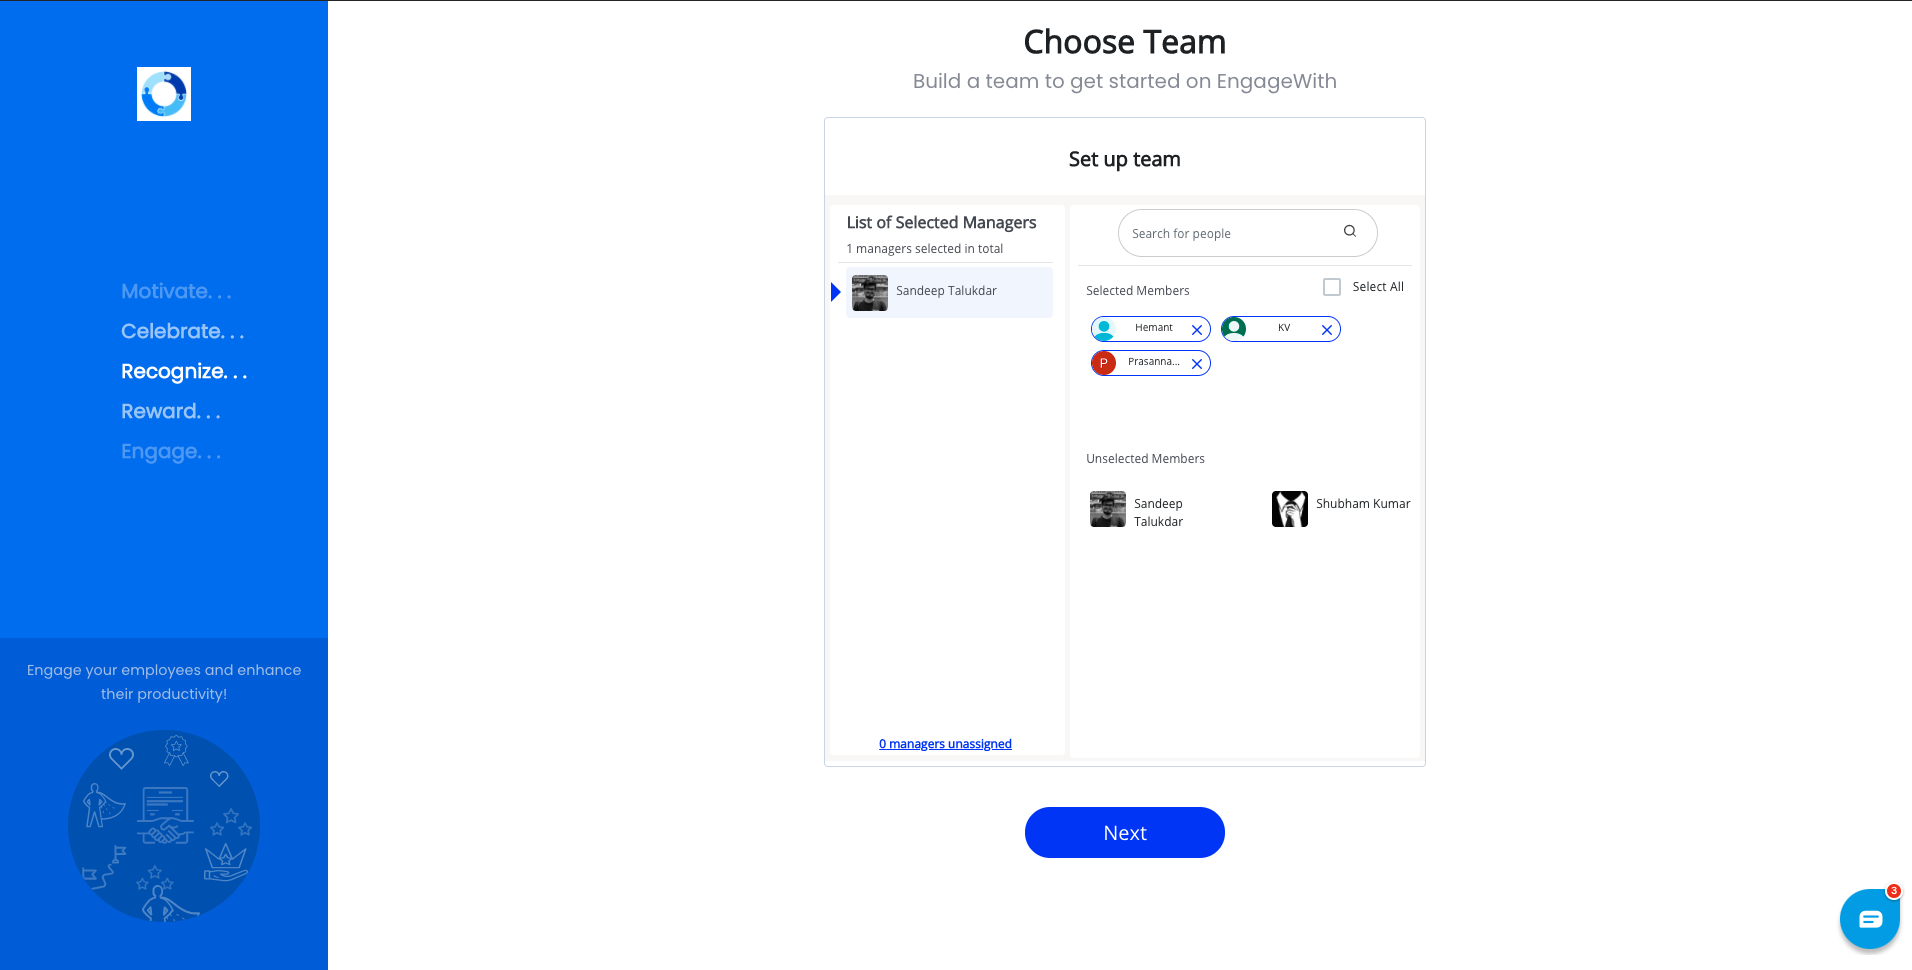
Now you need to choose managers to start building teams.
To build a team, map team members with their respective managers in the next step.
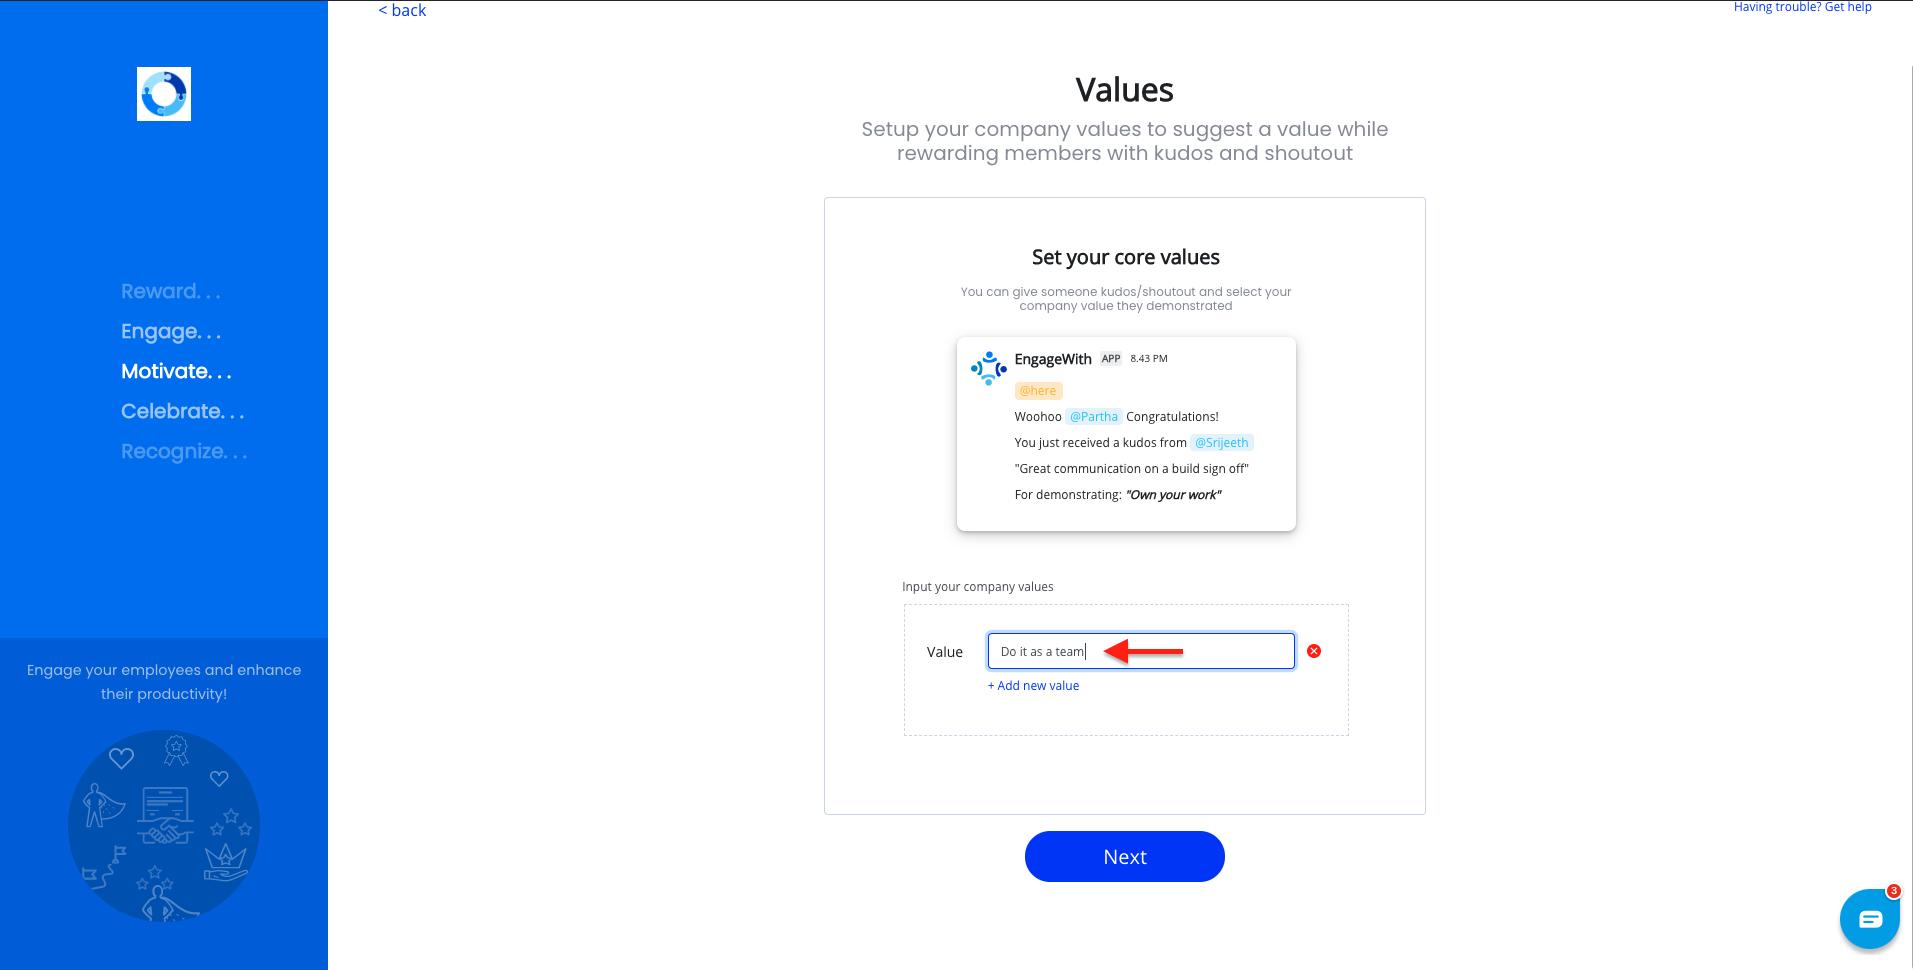
Once your team is set up, it’s time to set up your organization’s core values. This part of the onboarding process is optional and may be done later as well. You may also choose not to integrate core values into EngageWith.
Values inside EngageWith make your organization's culture an integral part of the way you recognize your colleagues.
You can tag these core values while recognizing someone’s efforts to uphold the culture your organization is building.
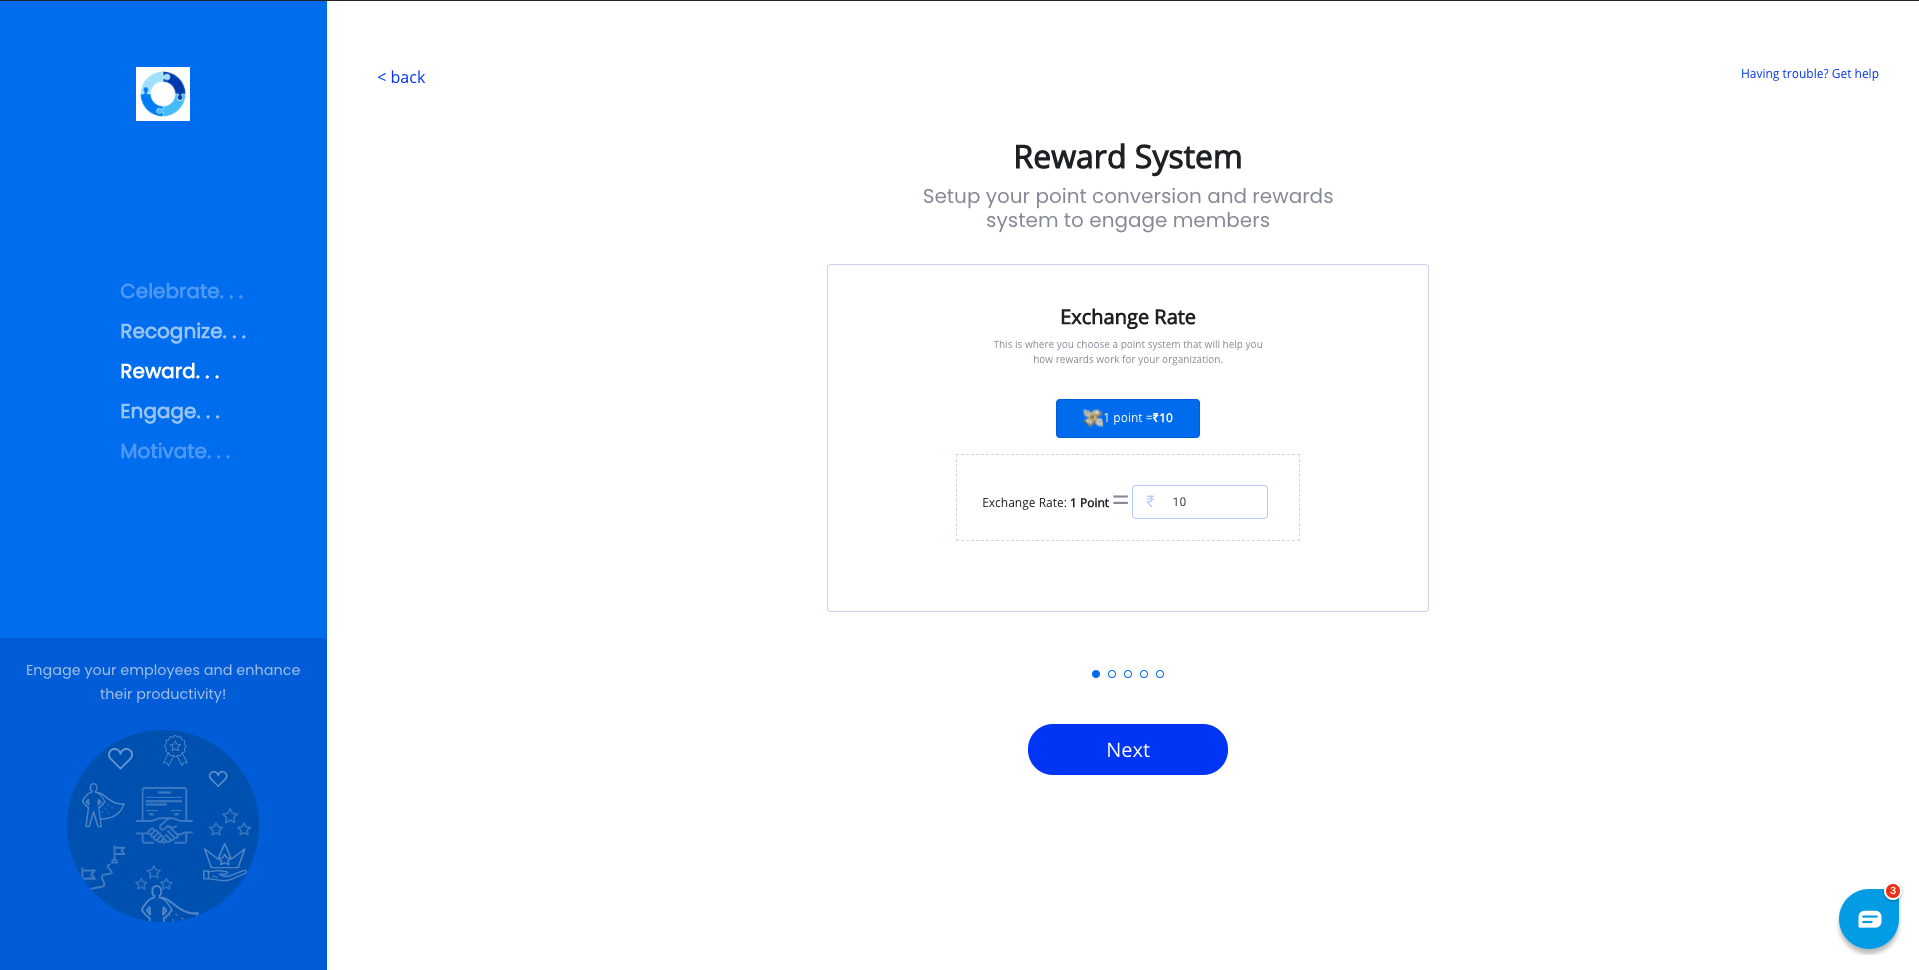
The next step to onboarding EngageWith is setting up an exchange rate for EngageWith’s currency, Points. These Points are sent whenever an appreciation is sent. You can set the exchange rate of a Point.
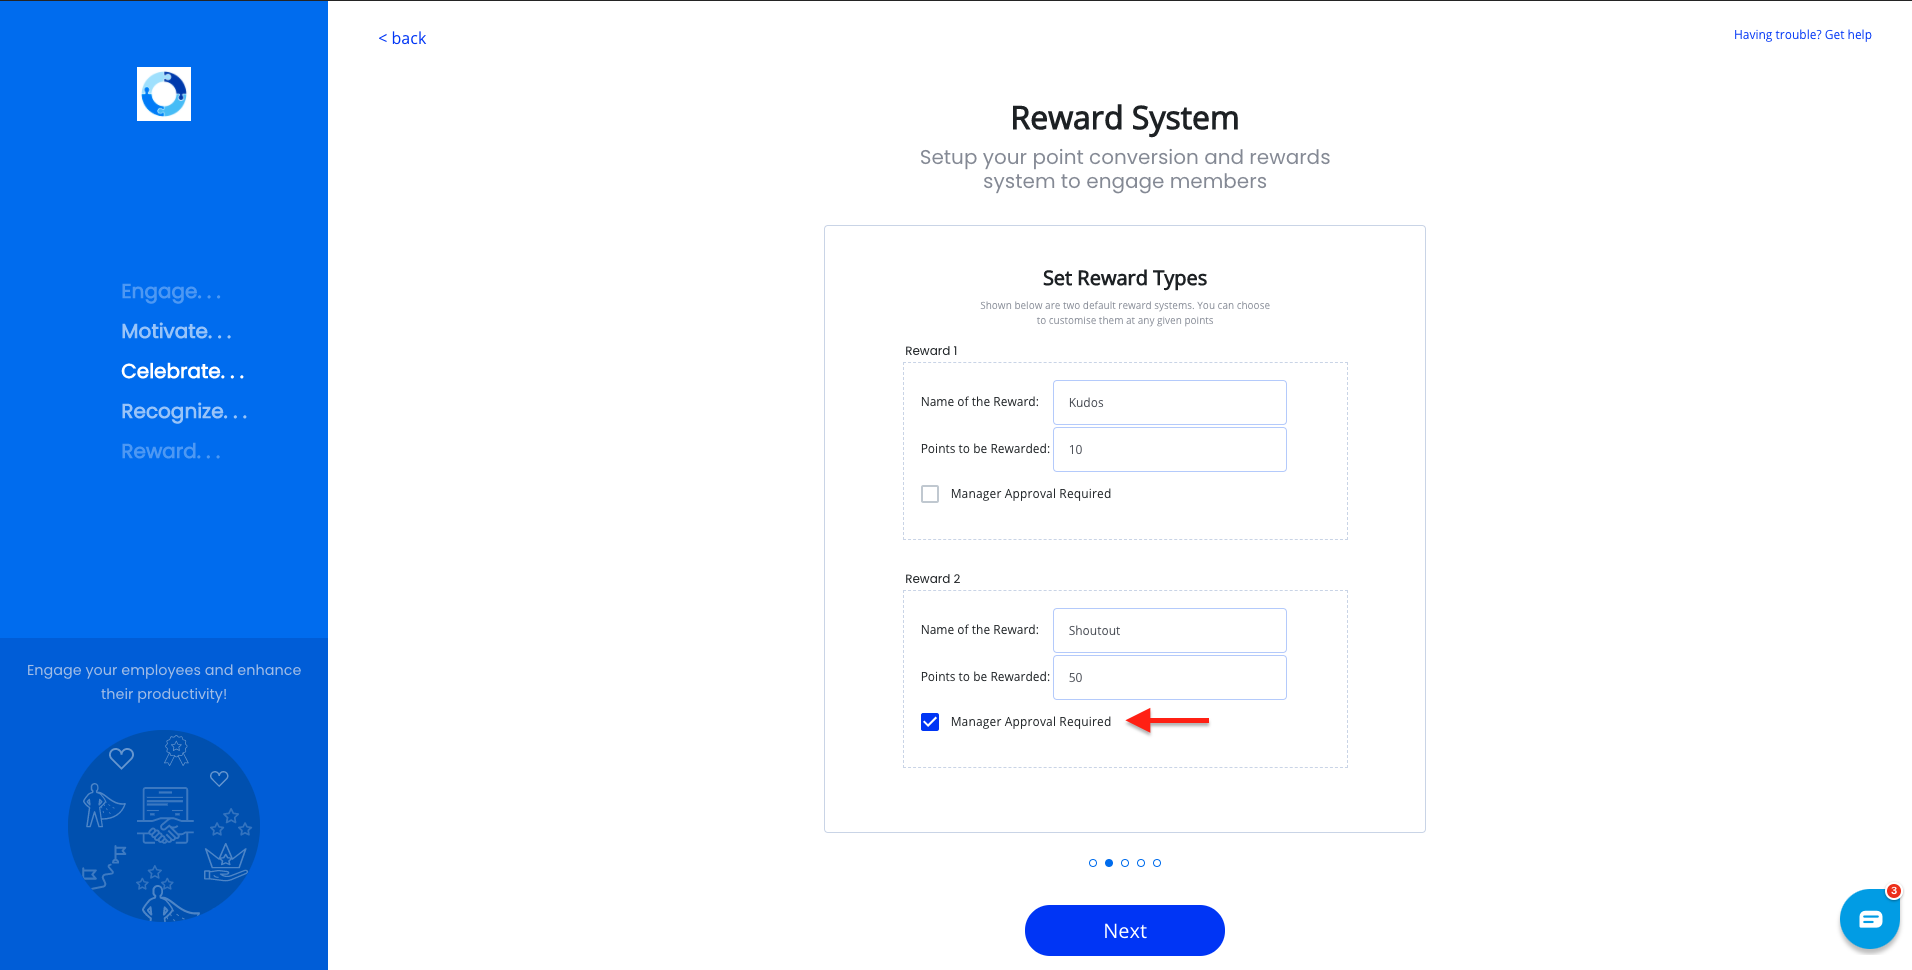
There are two types of recognition that you can send out:
- Kudos, and
- Shoutout
You can set the number of points to be rewarded for each type of recognition. You can also choose to toggle ON/OFF Manager Approval for these recognitions.
When you check Manager Approval Required, each time a user sends an appreciation, a request is sent to the user’s manager. Only when the approval is granted, an appreciation is sent out in Selected Channels.
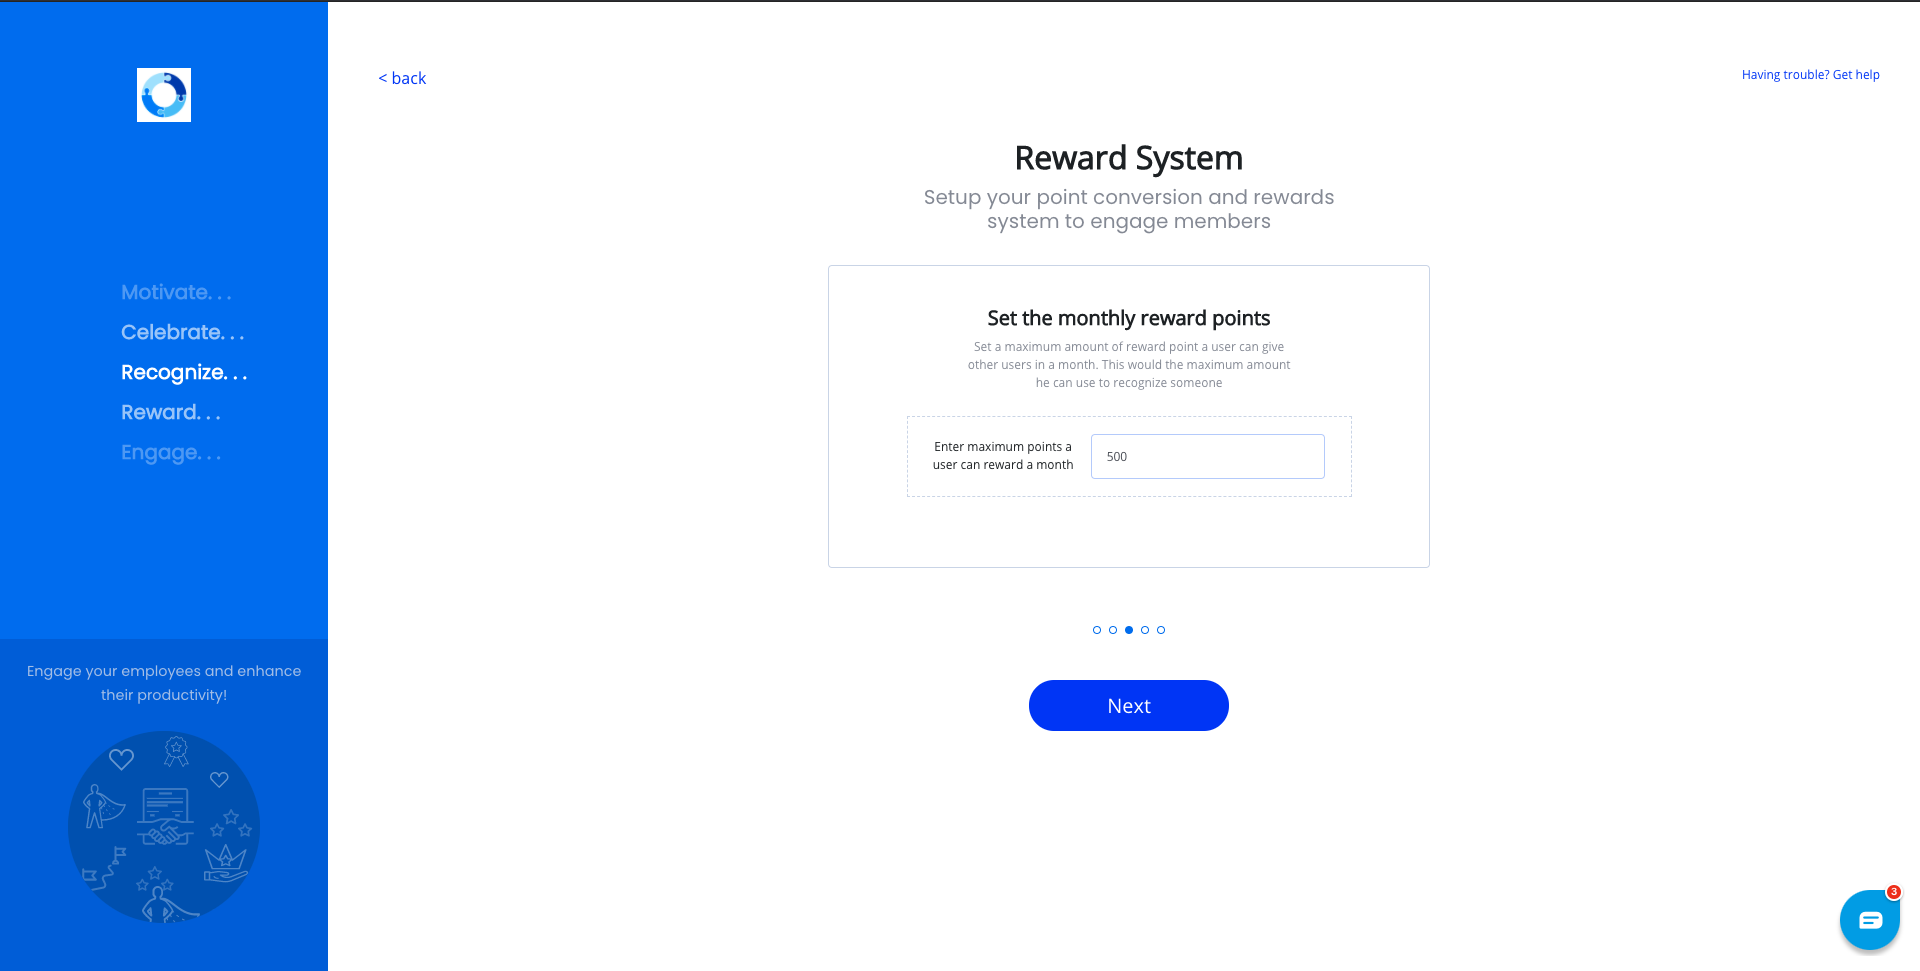
The next step is to tie in your employee recognition and rewards budget with EngageWith. You can set how many points are allocated to users monthly, quarterly, or annually (you can change the restoration frequency in the Dashboard later). This will ensure that transactions don’t exceed your budget.
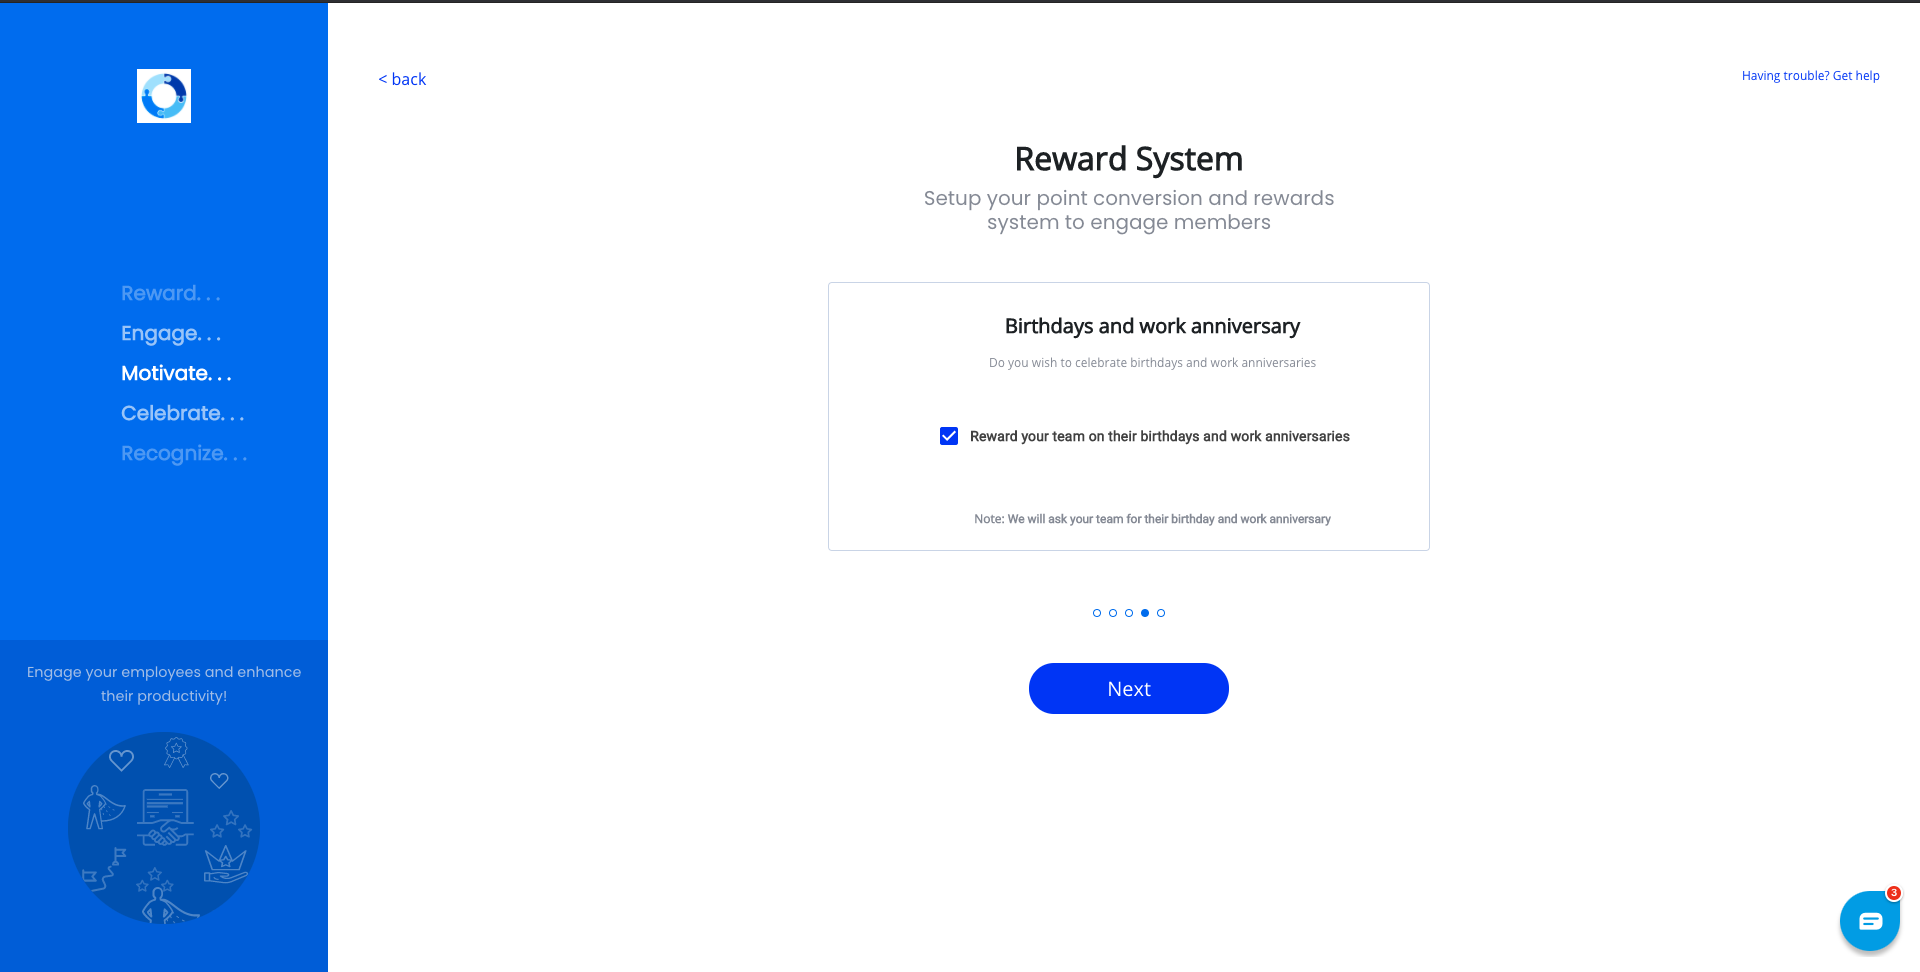
You can also set up EngageWith to reward your team on birthdays and work anniversaries. If you choose to set this up, the EngageWith App will send out messages to all your workspace members asking them to mention their birthdays and work anniversary dates.
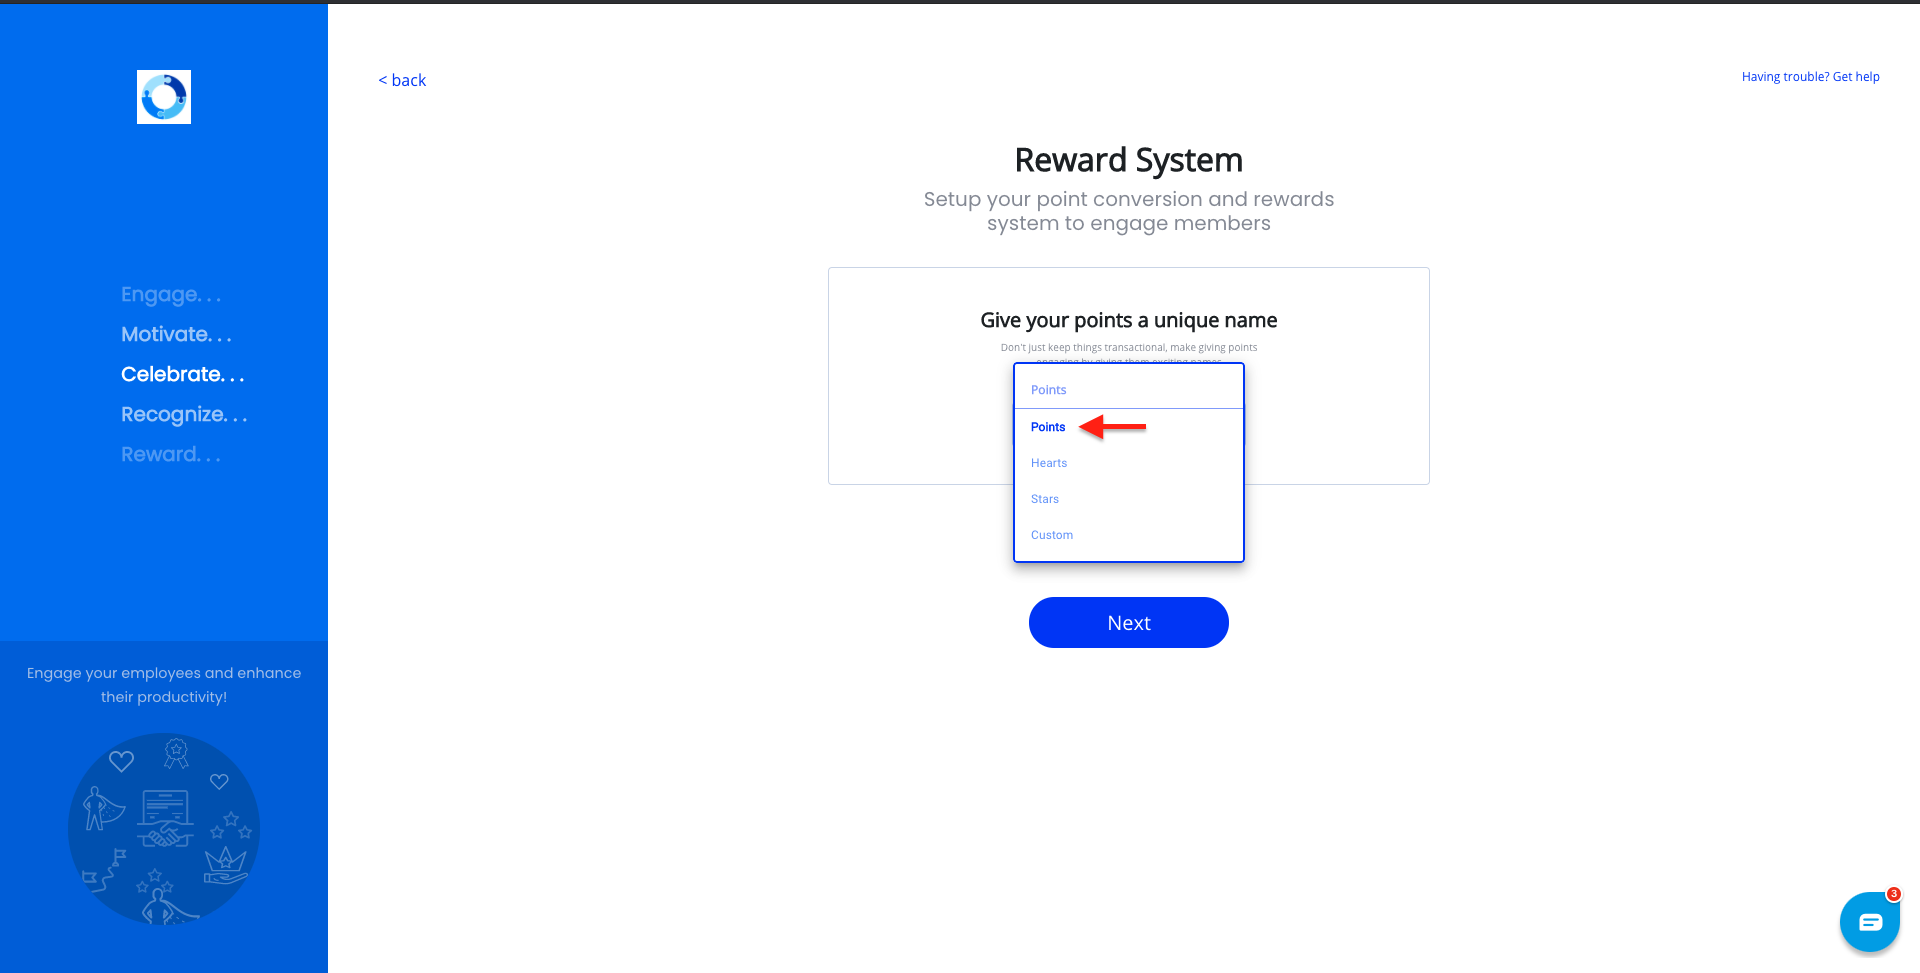
You can now appoint a unique name to the currency that flows within EngageWith. You can call it ‘Points’, ‘Hearts’ or anything you like. No restrictions!
The unique name will appear in the EngageWith Dashboard and in messages sent by the App.
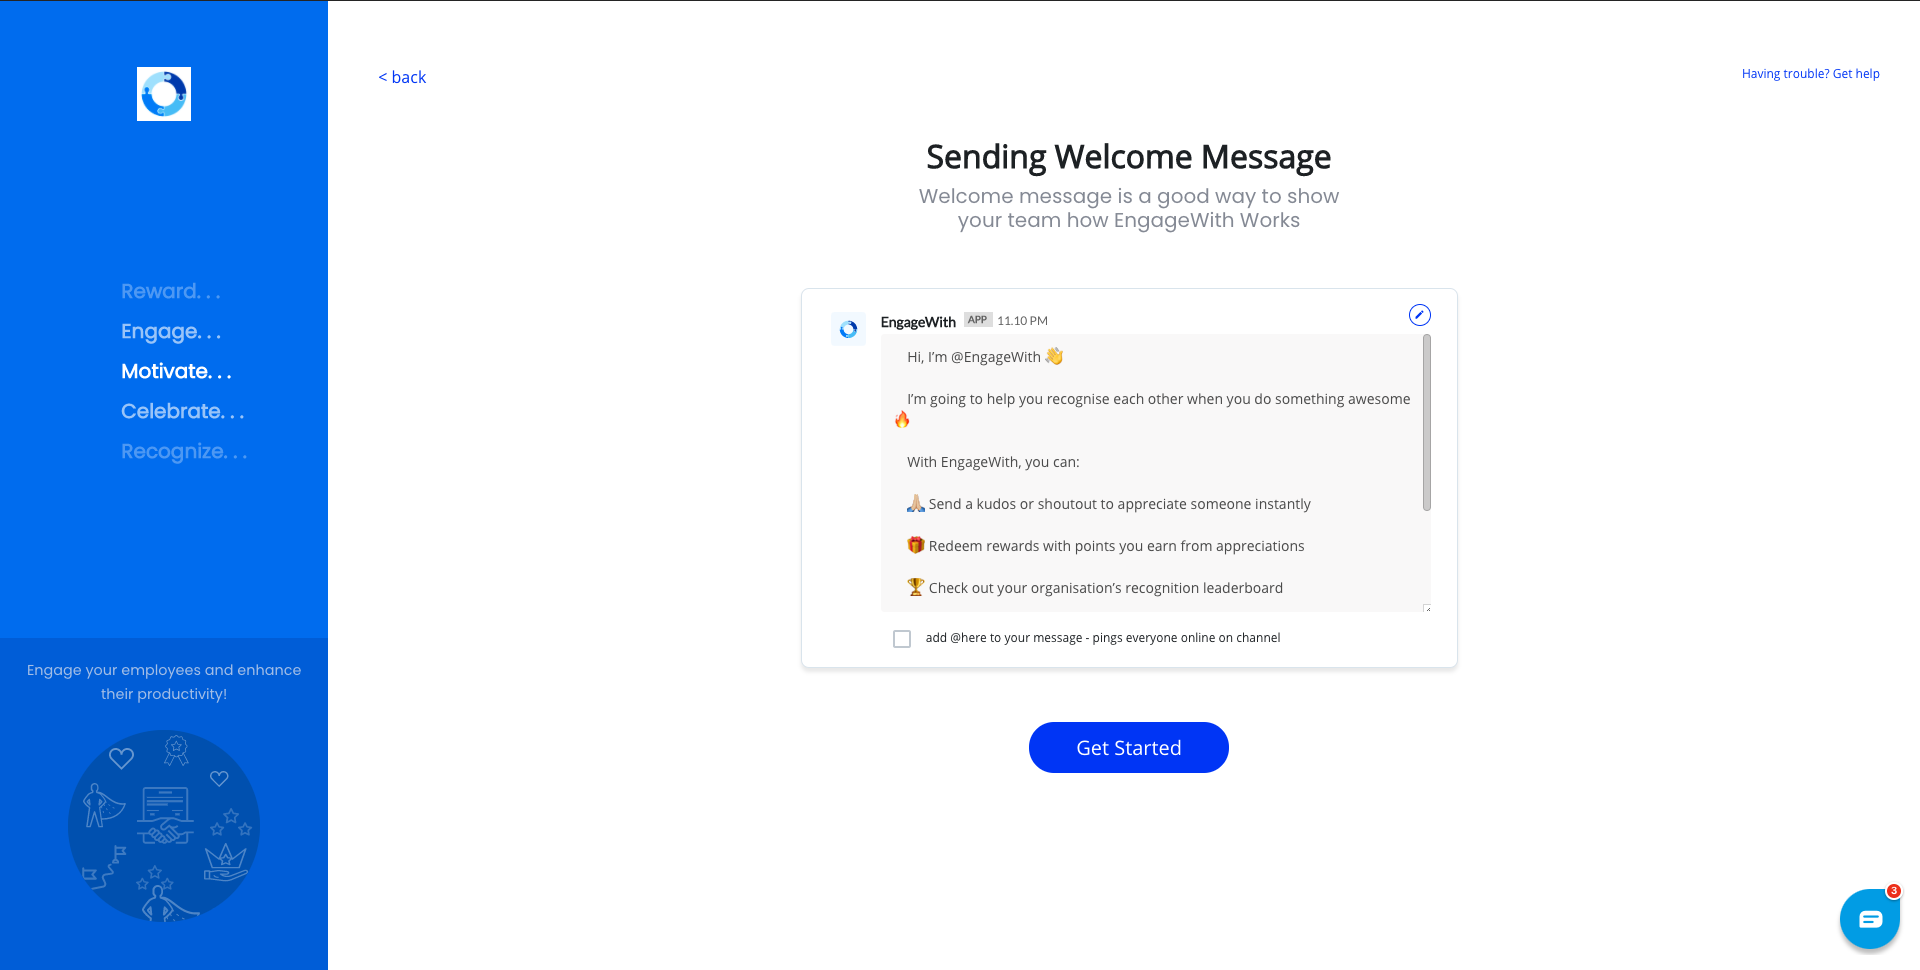
There we go, we’re on our final step now.
Click on Get Started and introduce EngageWith to your team!
Related Articles
How can I recognize someone using EngageWith on MS Teams?
Here are the steps on how you can recognize your team using EngageWith: Open the Team where EngageWith got added Type the command @EngageWith and select the bot Click on Recognize from the command pop-up and send the command Click on the CTA ...What are ‘Values’ within EngageWith?
Configure EngageWith to make your organization's culture an integral part of the way you recognize your colleagues. Tag core values while recognizing someone’s efforts to uphold the culture your organization is building. This can be done by adding ...How do I set up rewards & recognition based on my budget?
Based on the allocated budget for your employee recognition and rewards programs, you can establish limitations for EngageWith points. EngageWith points serve as the internal currency within the system and are utilized when appreciating someone. Each ...How many points does a user get to send while appreciating someone?
An EngageWith admin can set how many points are allocated to users monthly, quarterly, or annually.How to set up eNPS for MS Teams?
What is eNPS? Employer Net Promoter Score, or eNPS, is a scoring system designed to help employers measure employee satisfaction and loyalty within their organizations. It is based on the Net Promoter Score system. How to set up: 1. Login to your ...