Integrating SpringVerify with Keka: Download Reports on Portal
Overview:
With Keka, you can integrate with SpringVerify as your Background Verification Partner to handle employee verifications for your organization. Let us now understand the process of integration in detail.
—--------------------------------------------------------------------------------------------------------
Steps to Integrate Keka with SpringVerify IN:
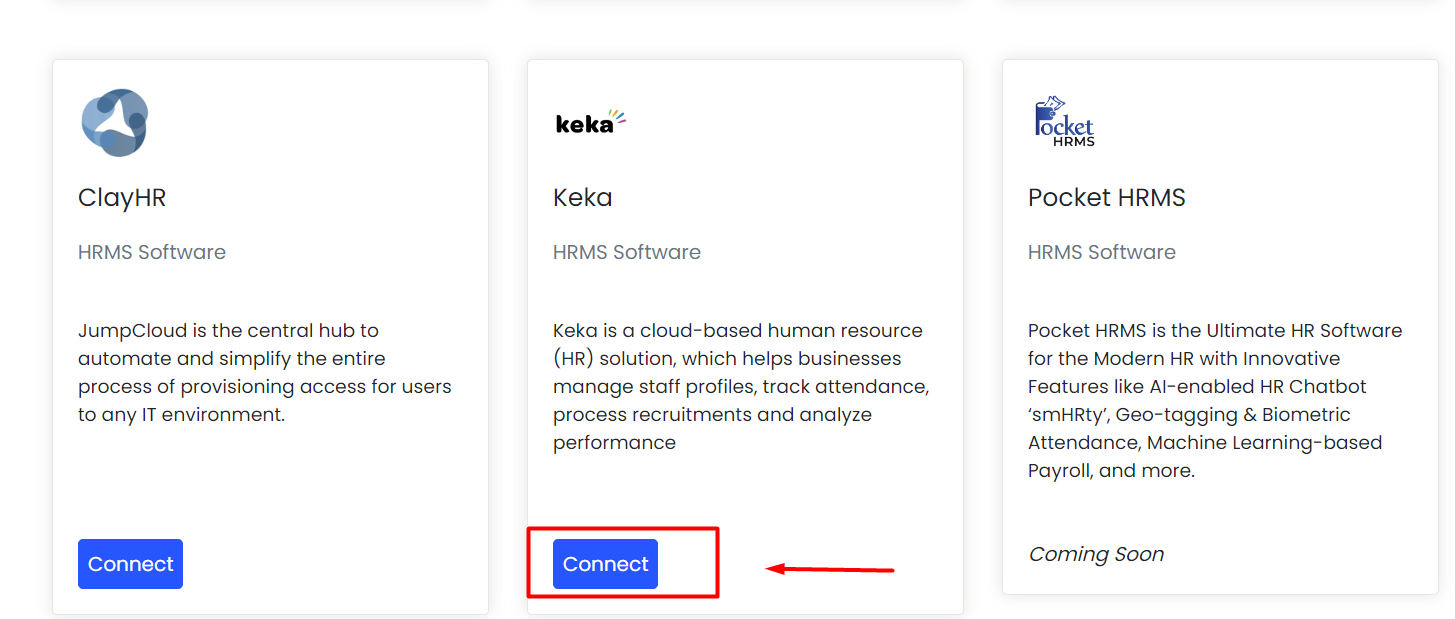
Locate the Keka card and proceed to open it by clicking “Connect”.
Click on "Generate token".
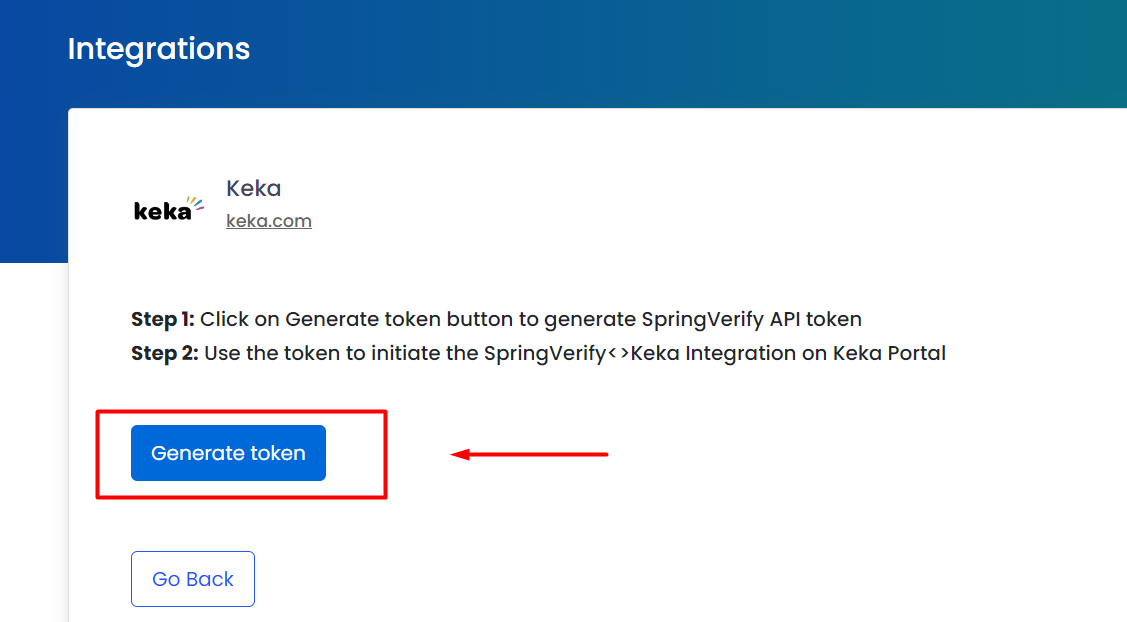
3. Copy the API key and proceed to the Keka portal to start the integration process.
Steps to integrate with Keka using the SpringVerify API token
To integrate SpringVerify as your background verification partner:
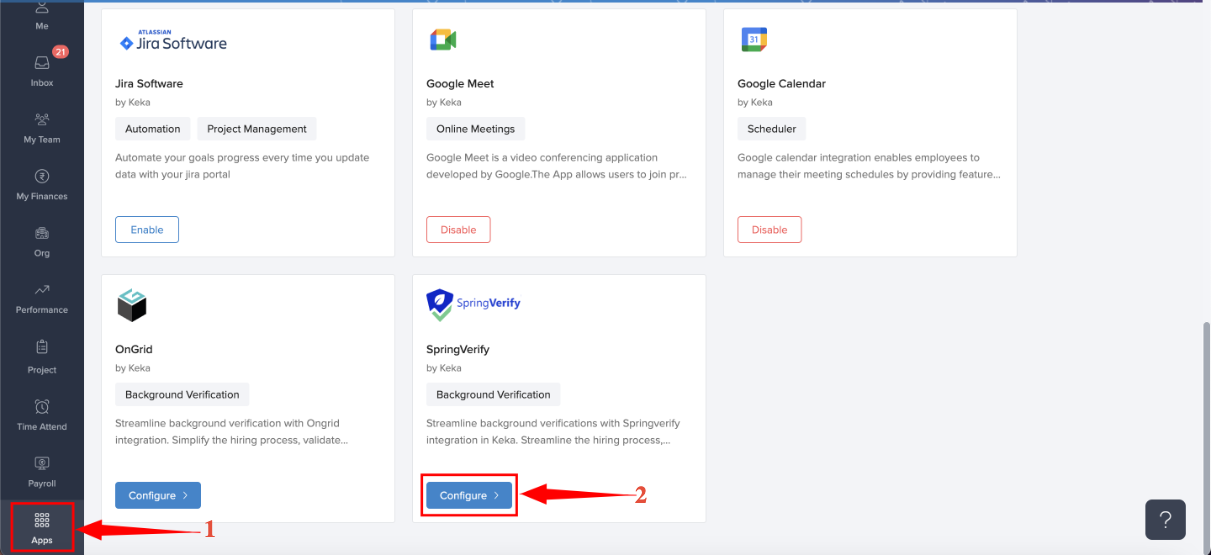
Step 1: Click on "Apps" from the left navigation menu.
Step 2: Now scroll down to find the option for SpringVerify and click on "Configure".
You will now be directed to the SpringVerify Integration screen.
Please click on "Contact" to establish SpringVerify as your verification partner. Once you've shared your details, SpringVerify team will get in touch with you.
4. If you're already using SpringVerify's services, select "Connect".
5. You will be prompted to enter an access token. Use the token provided by the SpringVerify team. This token enables seamless integration of your data with Keka.
6. Click on "Continue."
7. Select the packages applicable to your organization and click "Connect" to integrate SpringVerify as your background verification partner.
____________________________________________________________________________________
Initiate the background verification process for employees
Step 1: Click on "Org" from the left navigation menu.
Step 2: Navigate to "Onboarding", and click on "Background Verification".

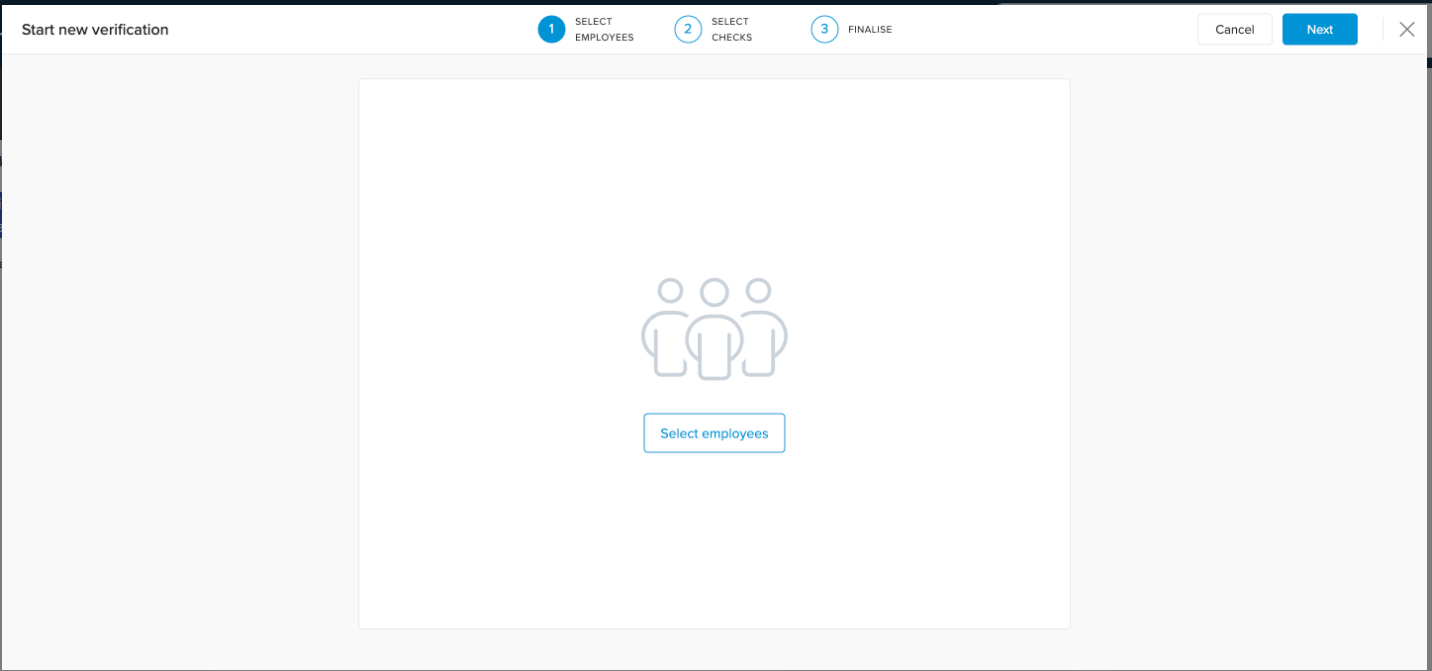
Step 3: Click on "Start New Verification" to initiate a background verification process for employees.

Step 4: Once you click on "Confirm and Proceed," you will have to select employees for whom you wish to initiate BGV.
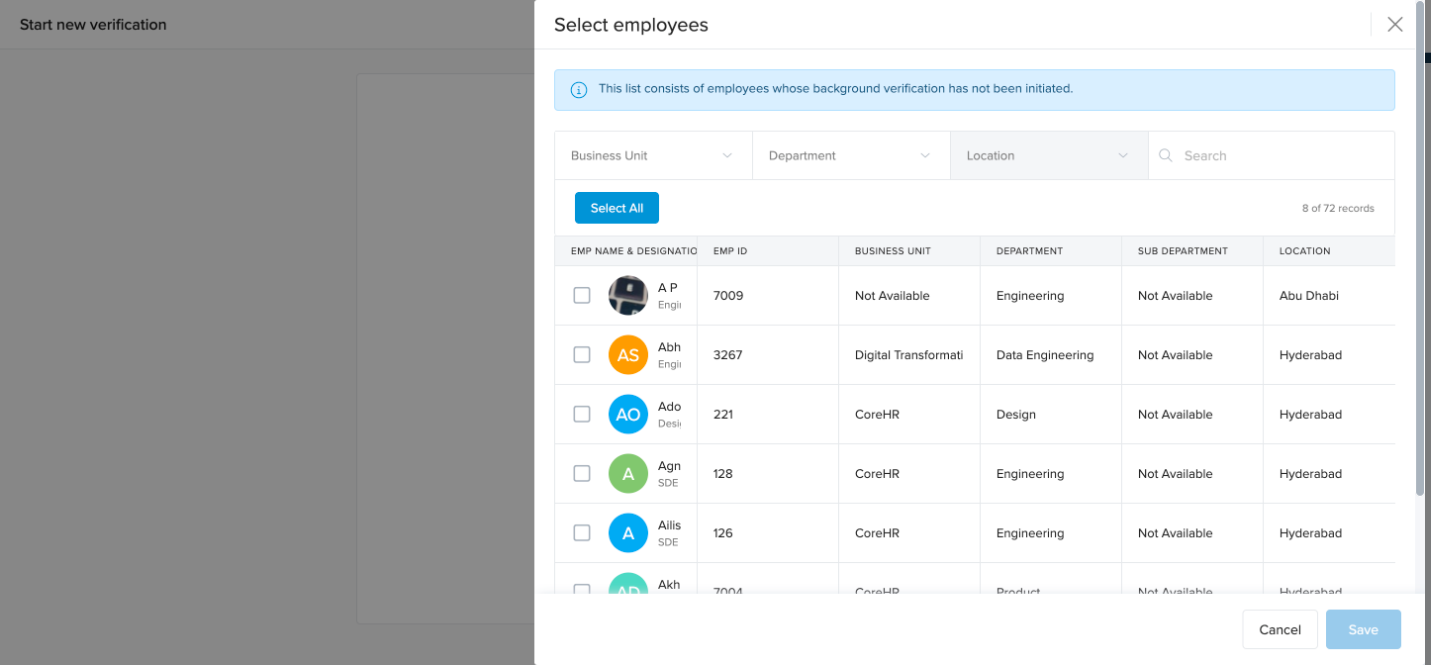
Step 5: In the first tab, click on "Select Employees" to add employees to the verification process.
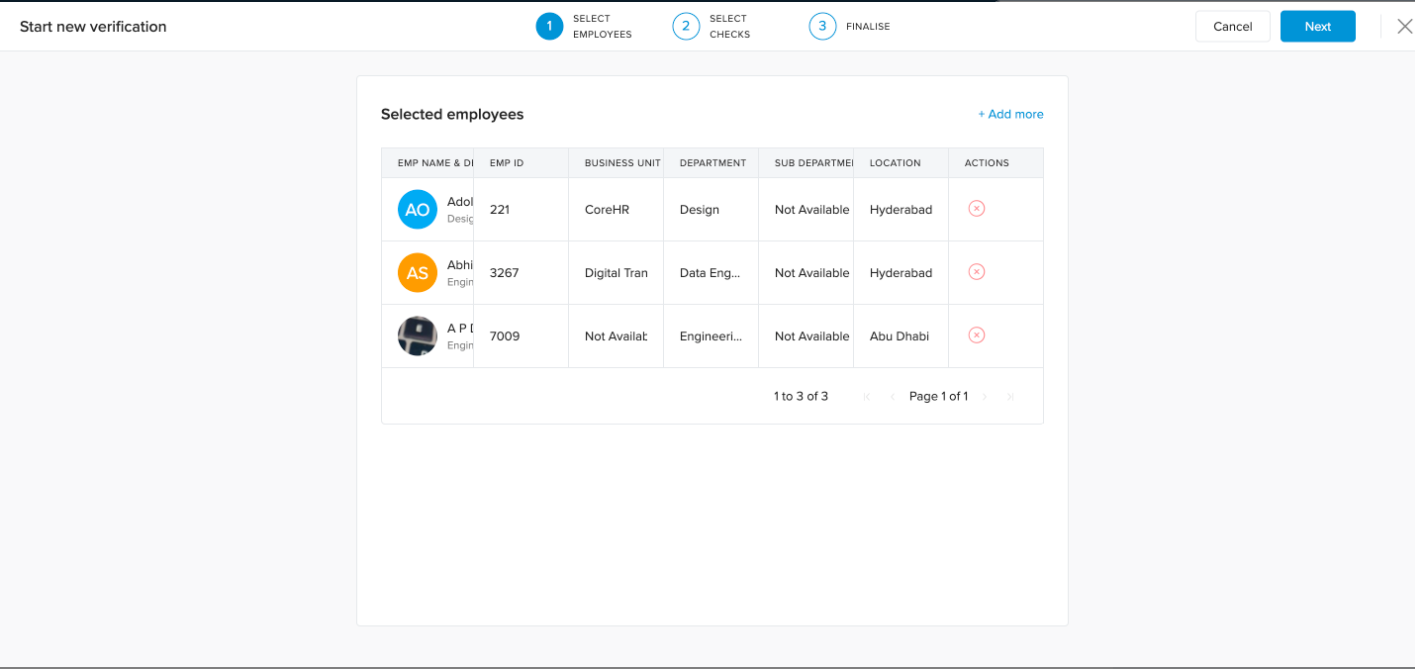
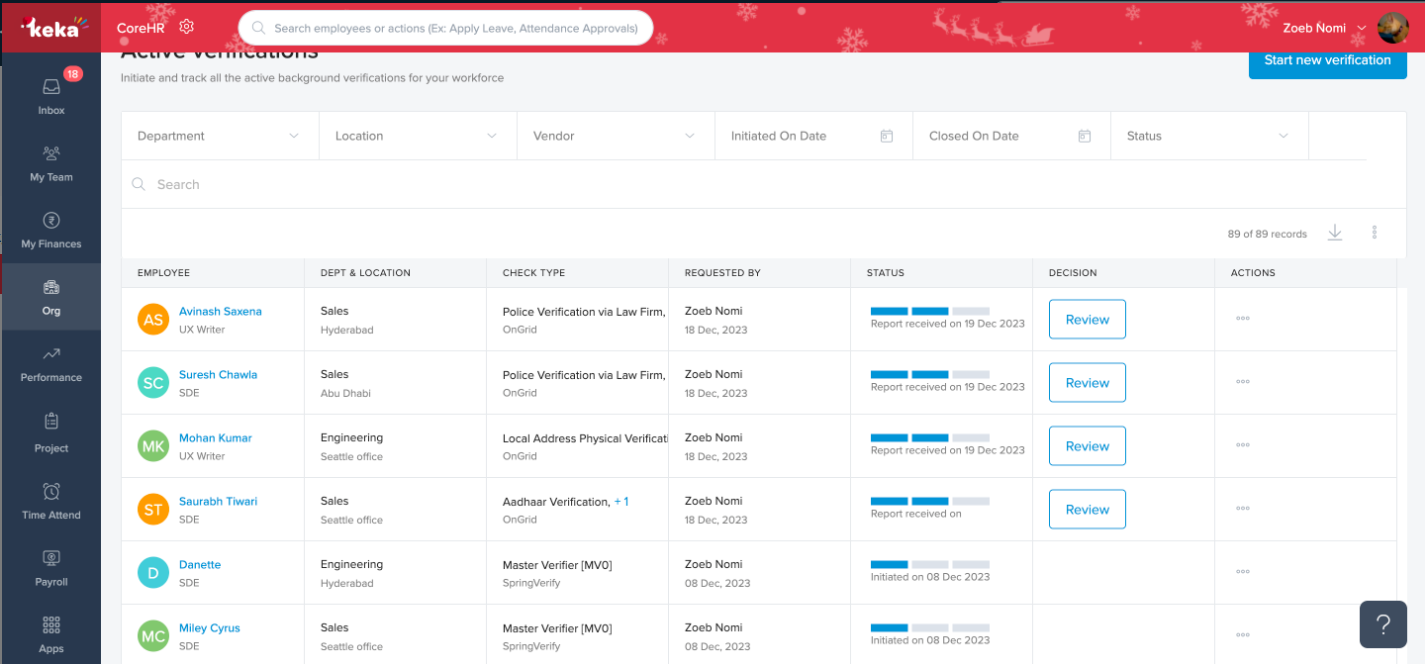
Step 6: Once a background verification is initiated, you can track the status of the BGV from Org > Onboarding > Background Verification.
Congratulations! You have successfully integrated Keka with SpringVerify. Bravo 👏
(PS: Background verification of employees is essential for every organization to ensure the accuracy of the details provided by the employees during their onboarding.)
This integration is offered at no additional cost and is available to all Keka users. Please note, users are required to access the SpringVerify portal to download or view background verification reports.
Related Articles
How to view and download reports for candidates on the dashboard?
Company Admins can now download candidate reports directly from the Candidate List page. This makes it easier to access verification data across candidates based on time period, status, and access permissions. You can download individual reports as ...Integrating SpringVerify with Keka ATS
SpringVerify's ATS integration with Keka streamlines background verification for your pre-boarding candidates. When you initiate BGV for candidates in Keka's recruitment module, their details are automatically sent to SpringVerify for verification, ...Integrating SpringVerify with Keka HRMS
Integrating SpringVerify with Keka HRMS Overview Overview: SpringVerify has developed an HRMS integration with Keka that automates background verification for your existing employees. Once connected, employee verification requests initiated in Keka ...Integrating SpringVerify with Keka marketplace
Integrating SpringVerify with Keka Marketplace Overview SpringVerify AI BGV is now available on the Keka marketplace, allowing seamless Background Verification (BGV) initiation without API creation. This integration is designed to streamline the ...🔗 Integrating SpringVerify with PocketHRMS
Overview: SpringVerify has developed integrations with PocketHRMS, enabling seamless handling of employee verifications for your organization. This integration simplifies and automates the background verification process within PocketHRMS’s platform. ...