How to regrade a check status to closed or verified
This article explains when and how Company Admins can regrade a background verification check to Closed or Verified, along with permissions and system behavior.

Note - You need to be an Admin user OR an HR user with:
Edit permissions for the candidate
Close check permission
Verify check permission
Edit permissions for the candidate
Close check permission
Verify check permission
Company Admins can now regrade a check to Closed from the following statuses:
- Insuff Closed
- Discrepancy
- Unable to Verify
- Inconclusive
- Verified
- Form Submitted
- Ready to Initiate
- In Progress
- Insufficiency
- On Hold
This means a check can now be moved to Closed from any status.
How to Regrade check status to Closed
Log in to the SpringVerify portal
Search and open the relevant individual profile.
Go to the checks section and open the specific check you want to manage.
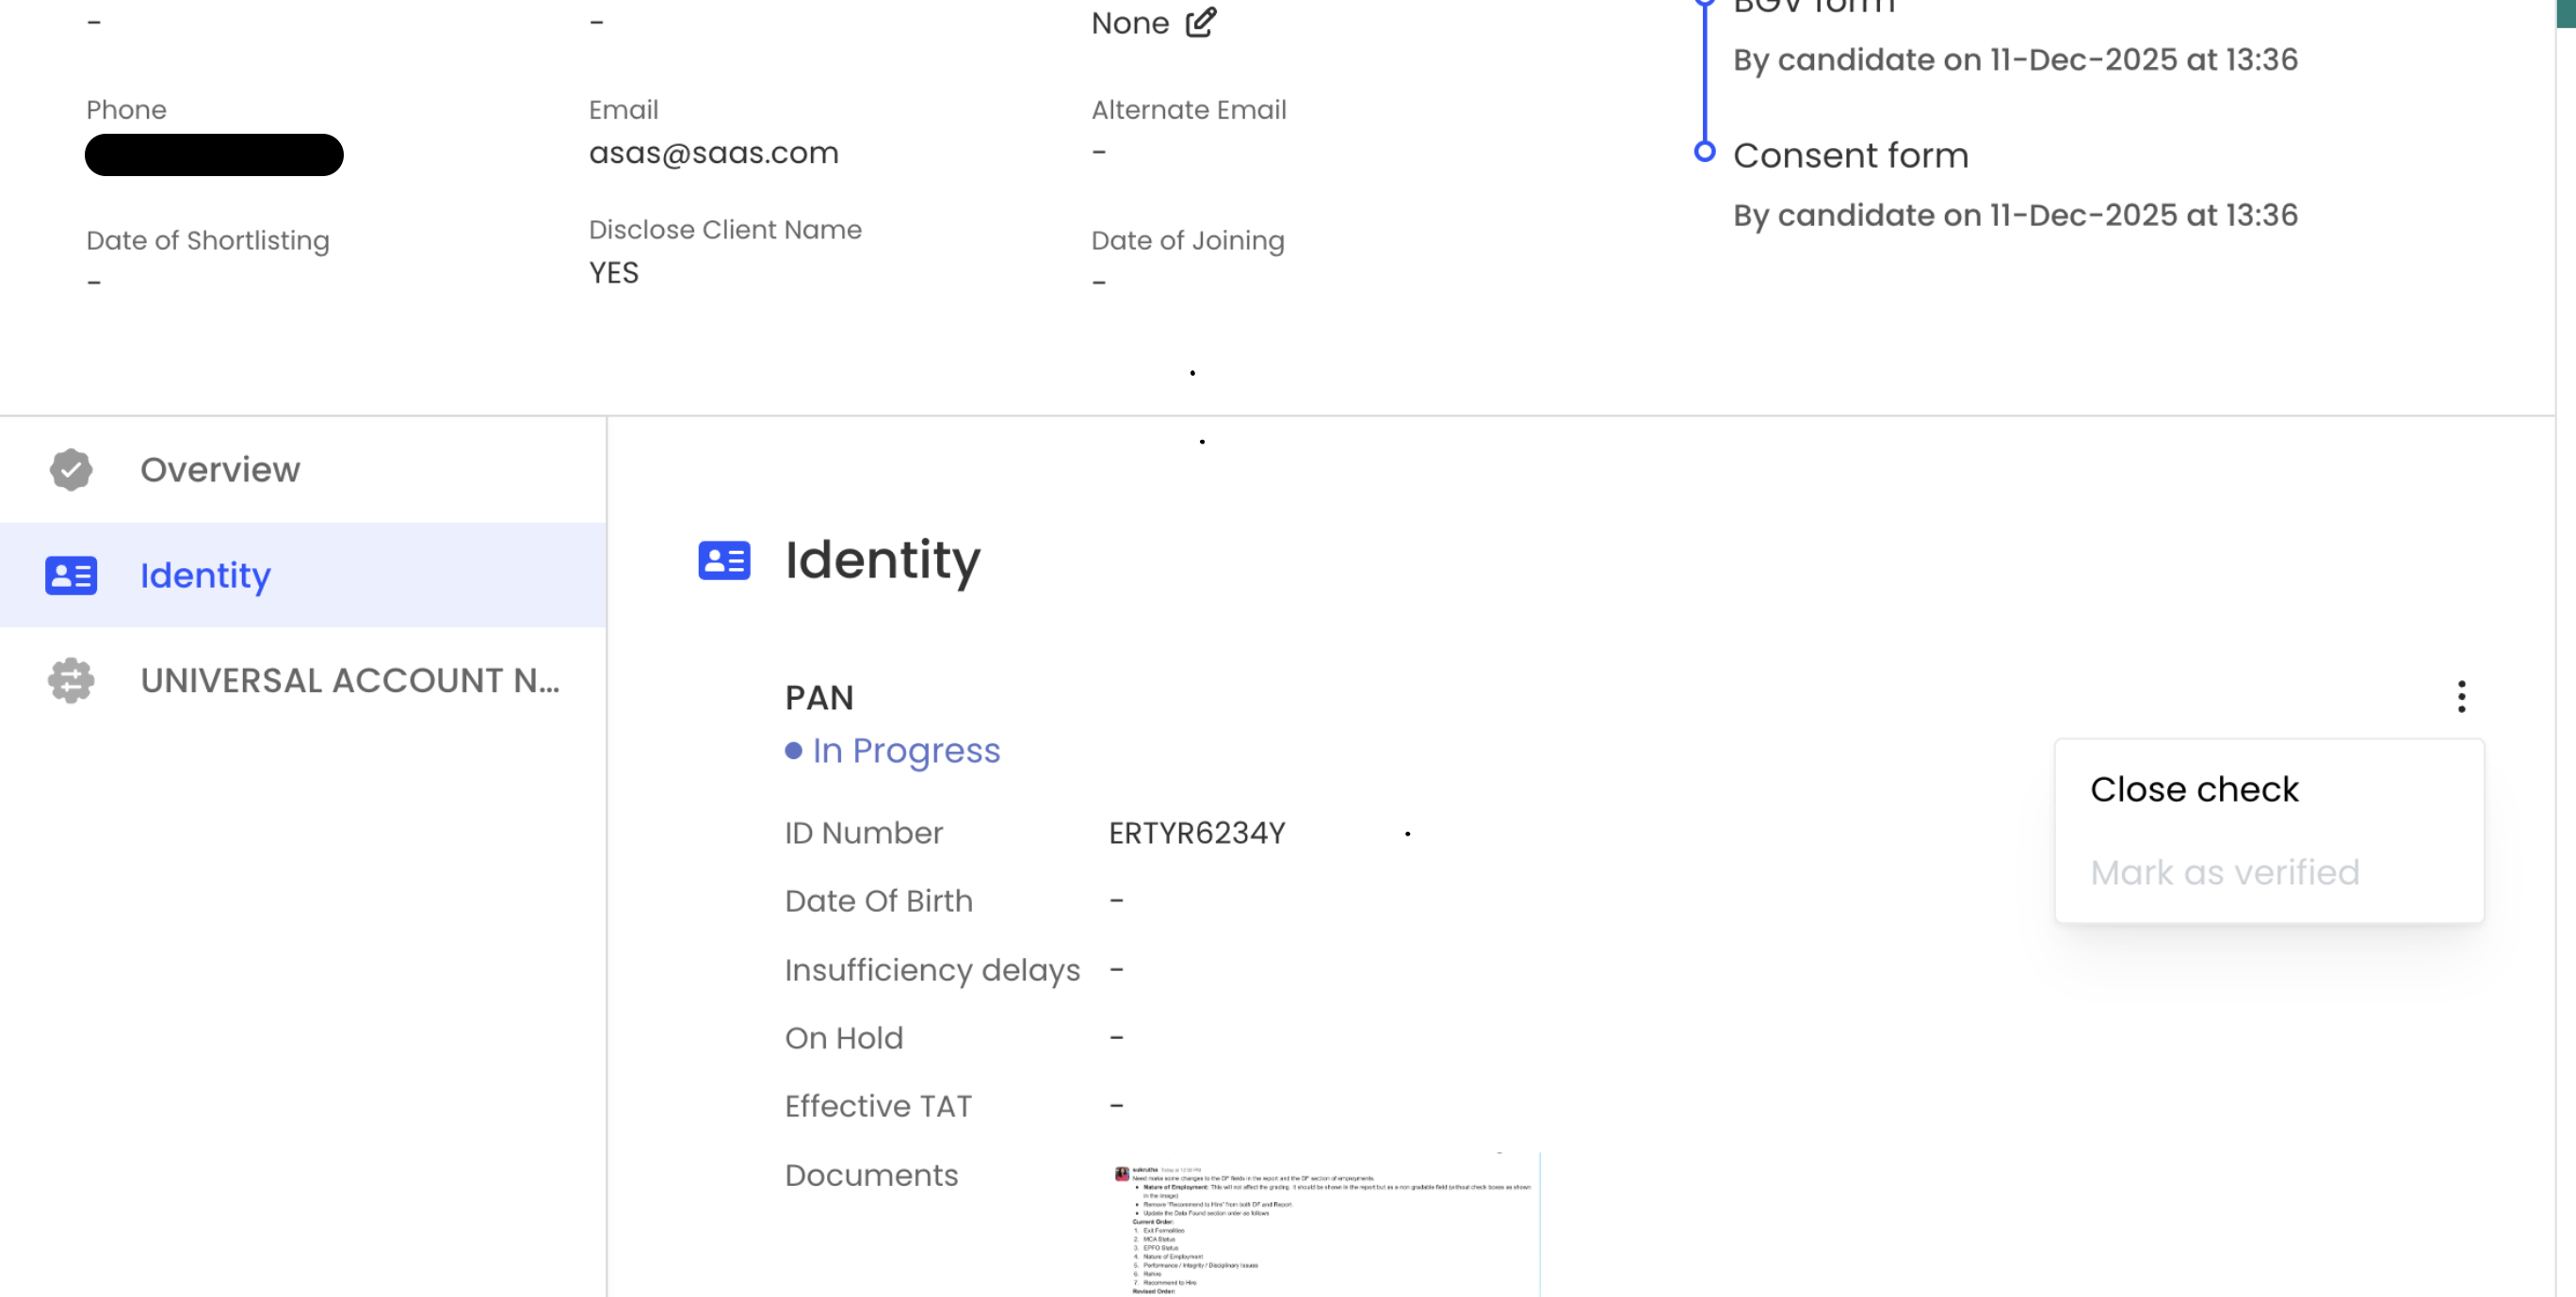
Click the option to change or regrade the check status.
From the status dropdown, select Closed.
Confirm the change.
Log in to the SpringVerify portal
Search and open the relevant individual profile.
Go to the checks section and open the specific check you want to manage.
Click the option to change or regrade the check status.
From the status dropdown, select Closed.
Confirm the change.
What happens when a check is regraded to Closed
When the status is changed to Closed, the system will automatically:
- Mark QC as done
- Add the check to the report
All actions are recorded in Update Logs.
Regrading a Check Status to Verified
When regrading to Verified is allowed
Company Admins can regrade a check to Verified if the current status is:
-
Insuff Closed
-
Closed
-
Unable to Verify
-
Inconclusive
-
Discrepancy
Reason is mandatory
When regrading a check to Verified, the admin must:
-
Provide a reason for verification
What happens after regrading to Verified
Once the status is changed:
-
The provided reason is added to the Data Found comments section
-
QC is automatically marked as done
-
The check is added to the report only if the admin chooses to include the reason in the report
Important behavior to note
When a check is regraded to Verified:
-
The Data Found status values remain unchanged
-
Only the check status is updated to Verified
For example:
If the check status was Unable to Verify and the data found statuses were Unable to Verify and Verified, these values will remain the same after regrading.
If the check status was Unable to Verify and the data found statuses were Unable to Verify and Verified, these values will remain the same after regrading.
How to regrade the check to Verified?
-
Log in to the SpringVerify Portal
-
Search and open the relevant individual profile from the dashboard
-
Go to the checks section and open the specific check you want to manage.
-
Click the option to change or regrade the check status.
-
From the status dropdown, select Verified.
-
Enter the reason for verifying the check.
-
Choose if you want to include the reason in the report.
-
Confirm the change.
- You can view the historyAudit and LogsAll regrading actions are captured in Update Logs for audit and tracking purposes.
In case you have any questions, reach out to our support team at cs@springverify.com
Related Articles
International Check List
SpringVerify supports a range of international background verification checks. Below is the full list of available checks by country, along with descriptions and turnaround times (TAT). 🇺🇸 United States Check Description TAT FACIS Level 3 Checks ...How to Hold, Pause, or Close a Verification / Check from the Portal
You can easily put a verification on hold, pause a background check, or close a case directly from the SpringVerify dashboard. This article explains how to temporarily stop the verification process when the candidate is currently employed, ...How to Use Education Check (Preliminary) in Instant BGV
What is Education Check ? Education Check (Preliminary) is an instant, AI-powered document check that runs OCR and advanced image analysis on a candidate's education certificate to detect signs of tampering — such as altered seals, inconsistent ...Check wise statuses - Definition and Color codes
Statuses and their colors: Light Blue Processing / Form Submitted Dark Blue In progress Green Completed (Verified) Red Major Discrepancy Pink Minor Discrepancy Yellow Inconclusive / UTV (Unable to verify) Orange Insufficiency Grey Insuff-Closed / ...How to Use Reporting manager Verification Channel for Employment Checks
What is Reporting Manager Verification Channel for Employment Checks? The RM Verification Channel for Employment Checks is a feature on SpringVerify that automatically contacts a candidate's Reporting Manager (RM) via WhatsApp when an employer's HR ...